


Benefits of this method:
Ø
Faster than a DVD installation
Ø
Also useful when a DVD drive isn’t available
Ø
Update the installation files
Requirements:
Ø
Need a USB flash drive (HDD, pen drive etc) with
atleast 4GB of free space.
Ø
Windows 7 source DVD
Ø
Windows Vista /
Windows 7 / Windows Server 2008 installed computer for the USB preparation
Procedure:
Ø
Preparing the USB media
Ø
Copying the files to USB media
Ø
Installation
Step
1:
Plug in your USB device onto
a USB port.
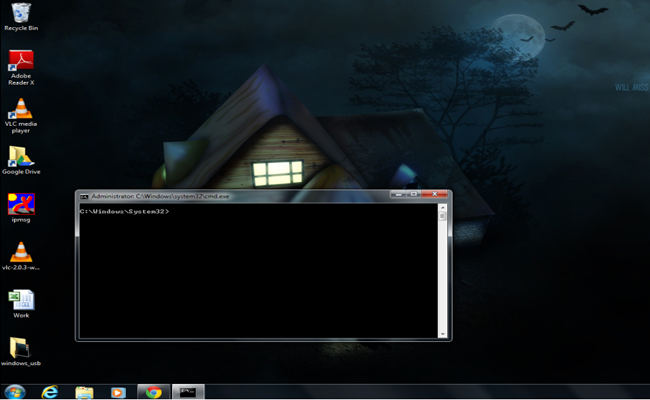
Step
2:
Launch the elevated command
prompt.
Start-> on the Search button type “cmd” -> right click -> Run as
administrator

Step
3:
Now launch “diskpart” from
command line.

Step 4:
List the available disks in
the command line using “list disk“.
On listing a device disk 1 is seen. Its my 8Gb USB drive which is been
converted to the bootable device.

Step 5:
Now run the “select disk”
command to select the desired USB disk drive. I did the “select disk 2” since disk 2 is my USB disk drive.

Now again run the “list disk”
command and see a flag is been set on the USB disk stating that the diskpart tool has selected the disk 2 to do some operations.

Step 6:
Now flush all the data on
the selected disk by the “clean”
command.
Note: The clean command will wipe all the partitions in the selected
disk, so remember to save all of your valuable data before running the “clean” command.

Step 7:
Create a primary partition on disk using “create primary partition” command.

Step 8:
Now create a file system
(prefer using fat32) on the the primary partition on disk 2. The word quick
defines to perform a quick format.
format fs=fat32 quick

Step 9:
Make the new partition active using “active” once the formatting is complete.

Here the active shows no partition is selected message. So again select
the disk “select disk 2“. Once again
do a listing “list disk“.

Now select partition 1 on
the selected disk using “select
partition 1“.

Now try to make it active
using “active“.

Step 10:
Now assign a drive letter to it using “assign“. Once you have done with the
assign command the new partition will be mounted and appear in your My Computer. Then exit the diskpart utility.


Step 11:
Now insert the windows 7 DVD
or mount the ISO image. My windows 7
DVD drive is assigned with the drive
letter I. Check carefully for what is in your case.

Now copy all files from the DVD drive into the USB device using the “xcopy”
tool.
Note: Using an ISO image is better than using a DVD as it takes only
little time to copy onto the USB disk. So prefer using an ISO image and mount
it into your virtual DVD drive. Here I used PowerISO for mounting the image since it is a simple software.
Now run the xcopy command to
copy all files from source dvd (my case
its I drive) into the USB drive (J drive in my case). Please both of these
in you case.
xcopy I:\*.* /s/e/f J:\


The copy process will take a couple of minutes (max up to 15 mints).
Once all the files are being copied that’s all you are almost done.


Now eject the USB drive and insert it into a computer and try to boot
from it.
Note: Change the BIOS settings
if needed in order to enable booting
from the USB device.
Once you opted to boot from the
USB will see the installation process is being started quiet as pretty as
it is booted from a DVD.


0 comments:
Post a Comment